Monday, April 26, 2010

THINKING OUTSIDE THE BOX

Happy Monday Everyone,

I hope you all had a glorious weekend.  Our weekend was full of fun things.  My daughter had a band contest all day on Saturday.  This allowed me to get some crafting done.  On Sunday we went to church, and then to a friends daughters MDO graduation.  These little kiddo's put on great performances.  It is so nice to see these kids get up in front of many people and sing their little hearts out.  I don't have that kind of courage.  Anyway, here is a card that I made.

 I was wanting to think outside of the box a little bit.  Albert over at A.Go's Craftomonium always inspires me with his choices of color and his elegant cards.  In with the blog candy that I won, he included a handmade card with the most beautiful butterfly on it.  I asked him where he had gotten it and he told me that it was from a K&Company Grand Adhesions pack.  So, when I was at Joann's last weekend I was looking for these.  Well, they didn't have the exact butterflies that he purchased, but they did have some in a different shade.  I grabbed the last package off the rack. 

When I set out to make this card, I knew that I wanted it to be different than what I usually make.  Sometimes I get stuck in a "crafty rut" if you will.  My cards all tend to look the same.  So.....here is what I came up with.  What do you think?


I picked the blue/gray paper from a DCWV Latte Pack.  I had some gold scraps from the same pack that I just cut into these shapes.  I chose black and transparent prima flowers with silver brads to accent.  I inked the edges of my shaped gold paper in gold and in charcoal.  I stamped "hello" at the bottom and added the butterfly.  You can't really tell from the pic, but the butterfly has the same blue/gray coloring on the transparent overlay that is on top.  I still felt that is was missing something, so I added some pearls.  Did I mention that I am in love with these butterflies?  They are just so beautiful...

A funny side note....Since this is really out of my comfort zone, I was proudly showing my boyfriend (who is not into any type of crafting AT ALL!) this card.  He takes one look at it and asks me "what does the Z stand for?"  I said with total confusion "what do you mean the Z."  He says "the Z....right there....the Z that you made out of the gold weird shaped paper....what does it stand for?"  That is when I saw "the Z."  I had not realized it before, but I HAD placed the gold "weird" shaped paper into a Z.  Well, of course now that is all that I see when I look at this card.  And of course now that I have told you about the Z, that is all you will see too.  However, I had to share the story.  I am still glad that I am trying to think outside the box and push myself to try new things....but rest assured that next time I will not be placing "weird" shaped paper into any kind of letter!!

As always, thank you so much for taking the time to look.  I really do welcome comments and feedback from my fellow crafters.  Have a wonderful and blessed day.........Robyn

Thursday, April 22, 2010

YUMMY!

Hi Guys,

I hope your Thursday is just great.  I have been cleaning my house most of the day, but I wanted to post a card that I worked on yesterday.  I got a retired stamp set off of e-bay that I have been wanting forrrrever.  It's the Tart and Tangy set from Stampin' Up.  I was so excited to finally get it that I had to make a card right away.  I was at Joann's this weekend and found some K&Company paper and rub-ons that work great with this set.  I had a lot of fun making this card.  I hope you all enjoy it.

This pic is a bit fuzzy.  I am irritated with my camera!!


This pic is better.  Like I said, I used the Tart and Tangy SU set, K&Company paper and embellies.  I used my Spellbinders Nestabilities and Cuttlebug to cut out the top layers.  I used LePlume markers to ink the strawberry.  This is the first time that I have used them.  They seem to work well, but I will have to use them a bit more before I decide if I really like them.  I used my craft knife to cut a pocket for the sentiment layer to fit into. I inked the edges with Lipstick Red cat eye chalk ink and stamped a coordinating envelope as well.  Here is the inside of the card...


Again, a little fuzzy...Oh well.  I just used a scrap of the strawberry paper that was left over and a cute little rub on strawberry from the K&Company pack called Berry-licious.  I inked the edges with Lipstick Red cat-eye chalk ink and called it done.  Thank you for stopping by.  Have a fantastic day........Robyn

Monday, April 19, 2010

Ladybug Card from Walk In My Garden

Hi Everyone,

I hope you all had a great weekend.  We had fun.  I had a wedding rehersal to host on Friday and the wedding to host on Saturday.  Our church was rented for the wedding and the lady that usually does it is on vacation, so they asked me.  It pays well (which means craft money) so I said sure! :o)

Then after the rehersal on Friday my daughter and I went and worked the concession stand at Relay for Life.  I have to say that these people...all of them...from family members who have lost someone to those battling cancer are amazing!  What an inspiration they all are.  We had a nice time and made some new friends.

I wanted to post a ladybug card that I made using the WIMG cart.  I don't own this cartridge, but my neighbor was nice enough to let me borrow it.  I LOVE IT!!!  It has the cutest little bugs and beautiful flowers.  If you don't own it, I would recommend it highly.  Here is one of the cards I made with it.


I used bright pink for the cardstock base.  Black cardstock that I ran thru my Cuttlebug using D'Vine Swirls, I cut the ladybug from WIMG, added stickles to her and added ribbon that I purchased at Hobby Lobby.  Then I just added dots with my white gel pen and stamped it with "a smile."  I know I'm goofy...sorry.  I hope you enjoy it. 

Thanks so much for spending a little time with me today.  I really appreciate it.  I am off to get ready for a church meeting....and to figure out something quick to make for dinner...UUHHGG!  Happy Crafting.....Robyn

Thursday, April 15, 2010

BIRDS OF A FEATHER

Hi Everyone!

I wanted to share a couple of cards and a project.  If you read my blog, then you know I had a booth at a local Garden Expo.  I made several of these types of cards to sell there.  I have really been into birds lately.  I wonder what a therapist would say that means???  Anyway, I also made my daughter a bag with some candy in it.  She was having a rough week and I wanted to cheer her up.  I hope you all enjoy.  Thank you guys so much for taking time out of your day to stop in and look at my creations.  It really does mean a lot! 

Before I end this post, I wanted to take this opportunity to thank Albert from A.Go's Craftomonium.  Albert's Poppy giveaway is the first giveaway that I have ever won.  I was soooo excited to win this.  I have to say that Albert does AMAZING work.  On top of that, he is just a sweet genuine person.  Please go to his blog and check him out.  You won't be disappointed at all!  http://www.agoscraftimonium.com/  Or click on his link under my blog roll.

Thanks again for stopping by,
Robyn


I just love this paper and these embellies.  They are from the K&Company Handmade collection.  All I did was ink the edges a bit and add ribbon.  The products really do speak for themselves.


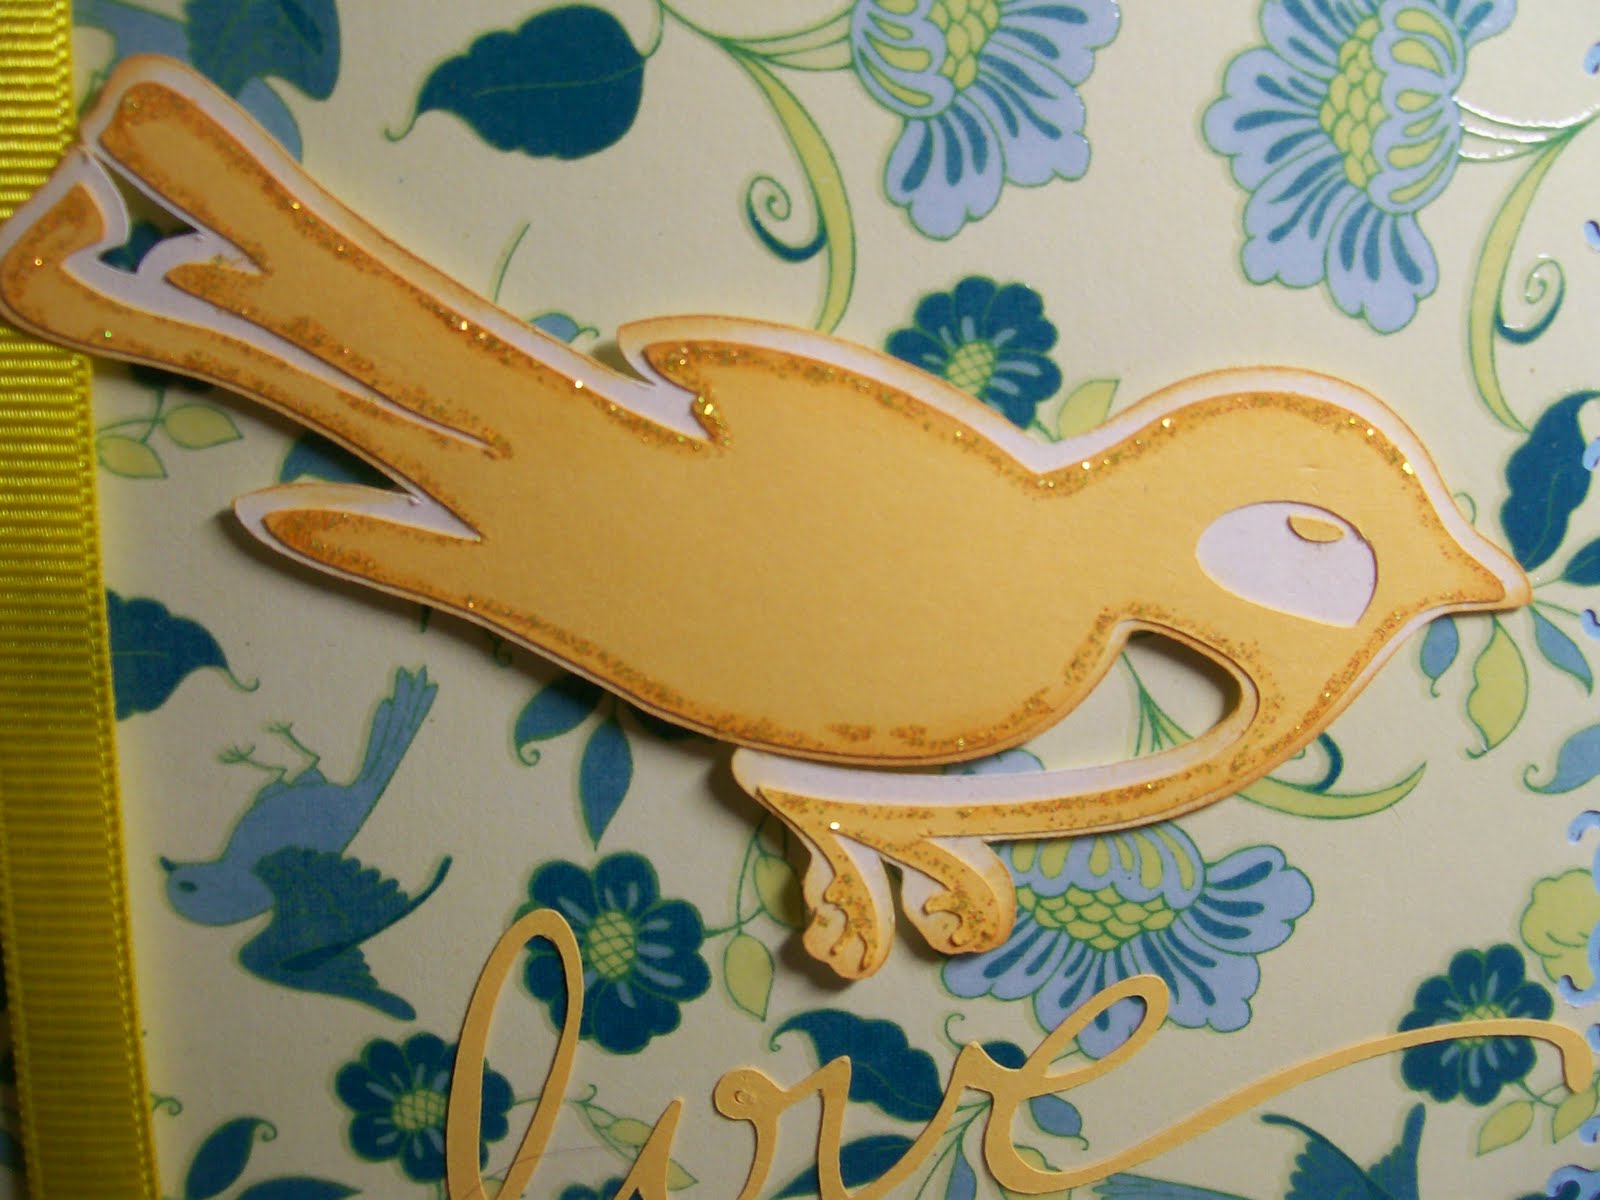
This paper is so pretty.  It is from a DCWV Cafe Mediterranean Stack.  I am really loving this stack too.  (I think I may need a 12 step program for paper purchasing. )  The bird and love are cut from the Cricut Home Decor Cartridge (I think.)  I added some ink and stickles to the edges of the bird.


This is the little bag that I made for my daughter.  I used the Cricut PS Cartridge for the bag (or box) and cut the bird from the Home Decor Cartridge.  I stamped "smile" using a Stampendous set that I got at M's.  The paper is from a DCWV Garden Party stack.  I added the Prima flowers with a letter brad.  I punched holes on the sides of the box and tied the ribbon to make a handle.  I then stuffed it with her favorite candy.  I sure hope it brightened her day as much as she does mine...

Tuesday, April 13, 2010

Finally Back

Hi All,

I am finally back to blogging.....Hopefully all 2 of you are still reading!

The past month has been a whirlwind.  I had a craft booth that I had to get ready for (it went great.)  We are nearing the end of school, which is always a crazy time for my daughter (and her very underpaid driver.)  My volunteer work always picks up this time of year....and on and on...

Anyway, I have tons of things that I made for my booth that I will be posting.  First, here is a quick birthday card that I had to put together on the spot.  I am trying to use up all of my scraps.  Not the greatest, but I think it turned out pretty cute. 

As always, thanks for taking the time to stop by, and stay tuned! 

Robyn

All supplies are from my stash of scraps.  Stamp set is from a birthday set from Joann's.  I don't recall the name...sorry :o)

Thursday, February 25, 2010

Music Is A Gift From God!


This is a card that I made for my piano teacher.  My daughter has been taking piano lessons for 4 years.  I decided about 2 years ago that I wanted to attempt to learn piano.  I had never played an instrument before, and had no clue how to read music.  I just wanted to do something for myself.  It has gone very well.  My piano teacher has been very patient and kind.  I wanted to tell her thank you!

The yellow paper is from DCWV Citrus Stack.  I found an old hymnal at a second hand book store and used a page out of it to make the flower and used it for the strip at the top of the card.  I inked the edges of the yellow paper with charcoal cat eye chalk ink.  I distressed the sheet music with Tim Holtz Tea Dye Distress Ink.  I used a stamp that I found at a resale shop in my area for the music notes.  I couldn't get a good pic of the inside of the card, but it has musical notes and says The gift of music is a gift from God.  I added a yellow button with twine to the flower and ribbon.

As always, thanks for taking the time to stop by and visit my blog.  Your comments and suggestions are always welcome.

Robyn :o)

Tuesday, February 23, 2010

Butteryfly's--Snails--and--Flowers....Oh My!

Hi Everyone!

Happy Tuesday...Well, it is snowing here in Texas.  Living in central Texas, we do not see snow very often.  However, people here just FREAK OUT when it gets cold and icy.  I stopped to get gas this morning and you should have seen these people carrying water jugs, milk and things out of the store in bulk.  It was crazy.  It's not like we are going to be snowed in for days people :o).

Anyway, it's good weather to get some major crafting done.  I have been so busy lately that I haven't been able to get into my craft room.  I finally sat down last night and made some cards for my Garden Expo booth next month.  Tell me what you guys think.  I always love hearing from you. 

This first card is one that I made with my scraps.  I am trying to use up all of the scraps in my drawer(sss.)  I have become over run with them.

The butterfly and love are cut from Home Decor cartridge.  The black & white paper is from a K&Company pack.  I inked the edges, added bling and ribbon


I'm not too sure about this card.  I decided to go ahead and post it, but it didn't turn out like I had pictured it in my head.  I got two of these really cute bottle cap embellies as a gift and wanted to use them.  I used my Paisley cutllebug folder on the top layer.  I inked the edges in purple, added a flower, ribbon and the bottlecap.  I got a cute chat-im-text stamp at M's that I stamped it with.

 I just LOVE this little guy!  My friend let me use her Walk In My Garden cart.  This cart has some of the cutest cuts on it, and is just perfect for the Garden Expo booth.  This snail was cut at 2 inches.  his shell is from a DCVW paper pack called Pink Armadillo.  I added some orange buttons to his antenaes (is that what you call them on snails? and did I spell it correctly :o)  I added ribbon, a strip of pink and a Stampology stamp.  I stickled a little eye on him...or her...  Did I mention that I love this cartridge!


This last card is also from the Walk In My Garden cartridge.  The background paper (top layer) is from a stack that I received as a gift.  I'm not sure where it is from, but I love it.  I cut the flower pot at 2" and the tulips at 2" (I think.)  I used a strip of green and cut it with my shredding scissors to make grass.  I ran the pot thru my Cuttlebug using the Swiss Dots folder.  I added the pink top layer to the tulips and inked them, and my edges.  I zig 2 way glued the tulips and then pop dotted the flower pot.  I used the hello stamp from a Stampology set and added pink ribbon.  When I was done, I realized that my flower pot wasn't centered on the card.  Now, a normal person wouldn't worry about it...but because I am a bit freaky, it was bothering me.  I'm sure I need therapy or something.  I found a little snail (I am into snails now) and added him to the flower pot.  I think that helped my flower pot look a bit more centered.  I think it looks like he is crawling up the pot??  What do you think?
Thanks so much for atking the time to visit my blog.  I hope you all have a wonderful Tuesday! - Robyn-